Off Frame Restoration
Off Frame Restoration is the most comprehensive service Chris Keyzer Restorations offers to it’s clients. This service can vary from client to client as some clients prefer to undertake some of the restoration processes themselves such as vehicle disassembly and or re-assembly. A full off frame restoration would begin with vehicle disassembly.

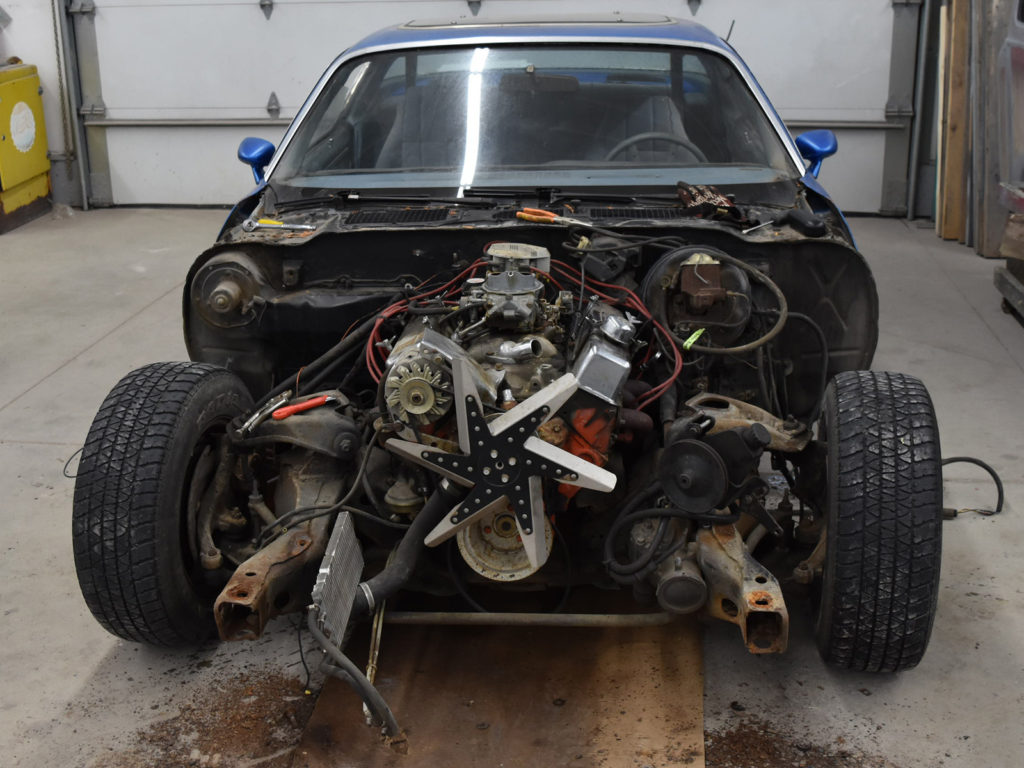
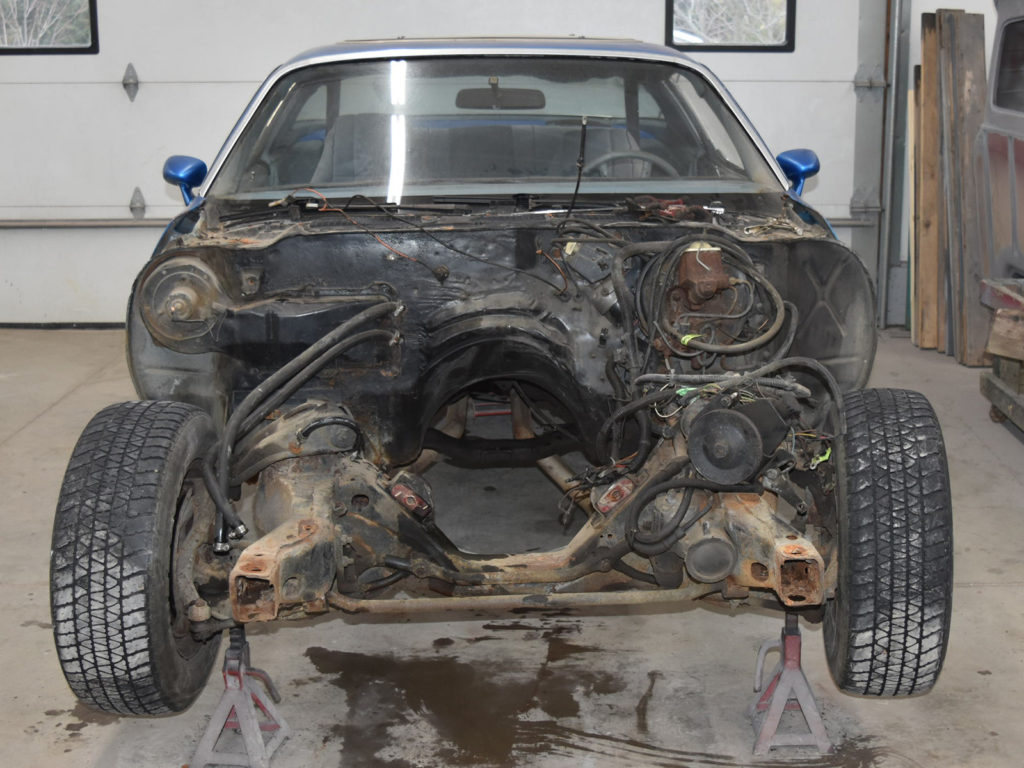
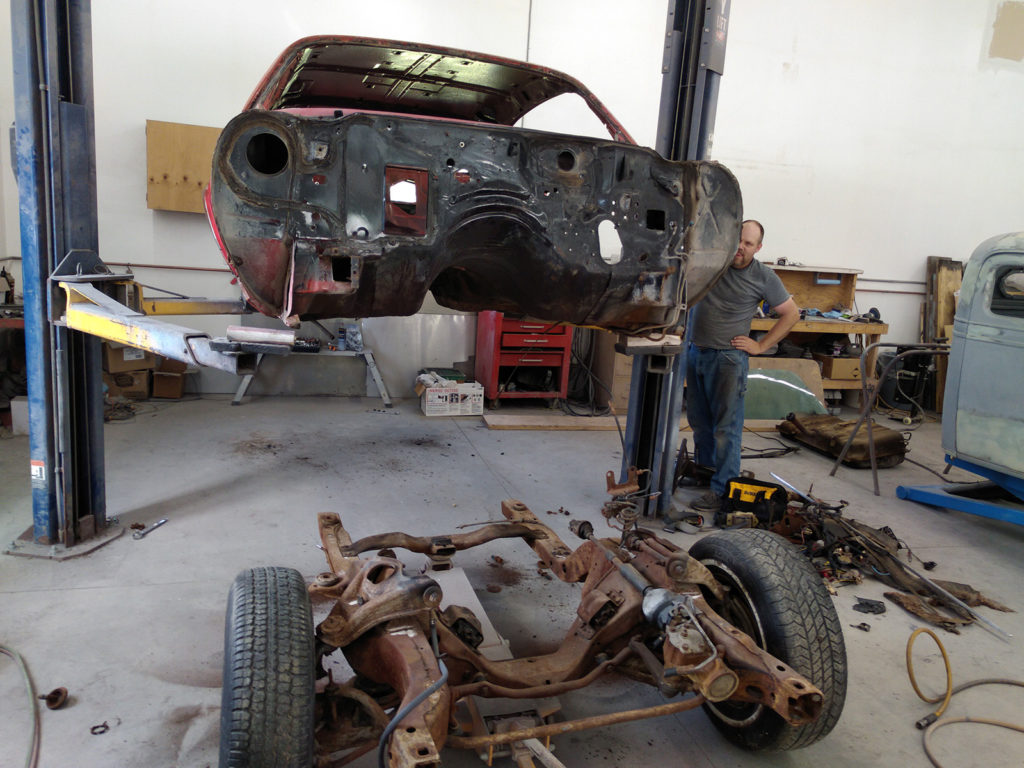
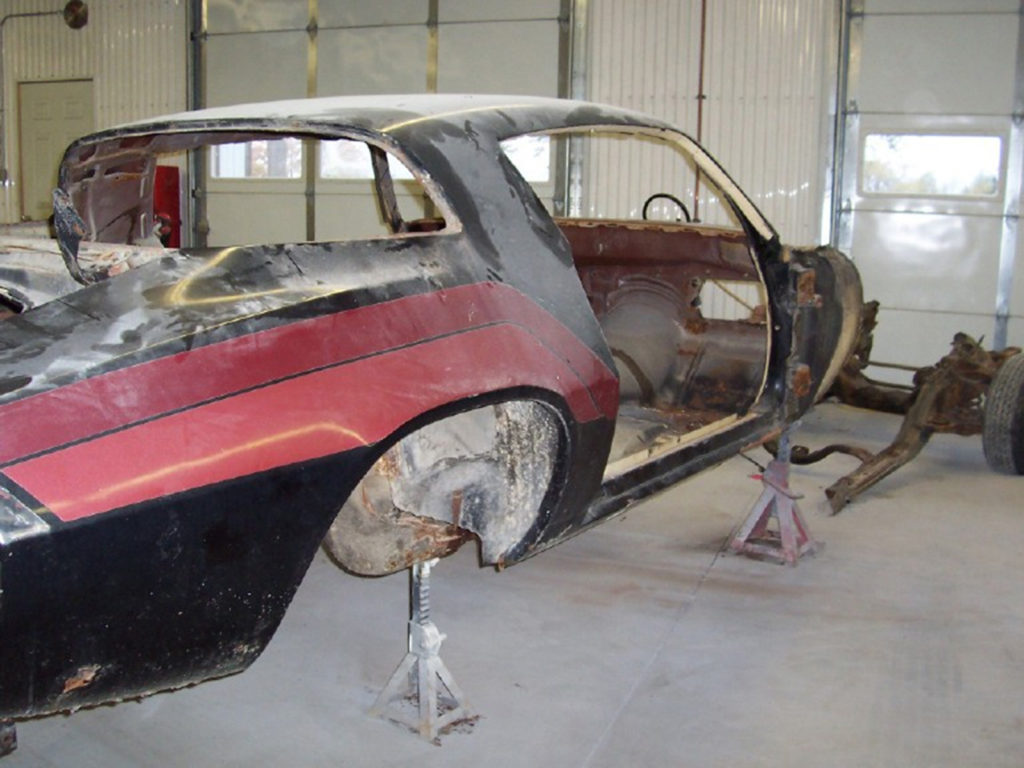
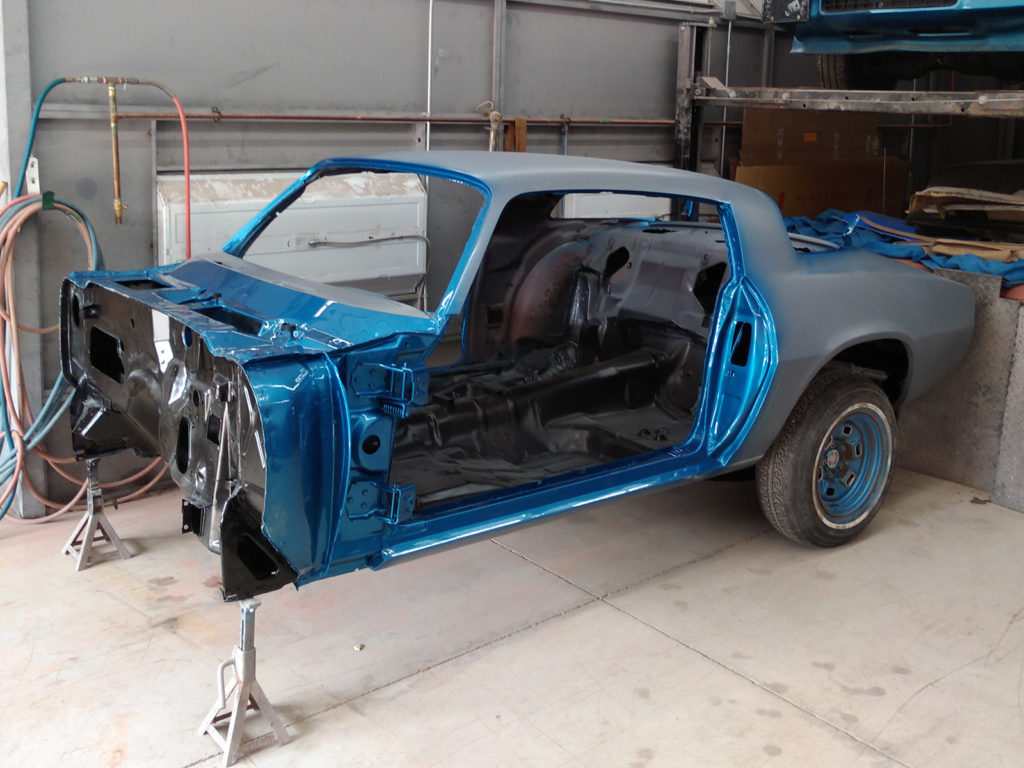
Vehicle Disassembly
- During the disassembly process all mechanical parts of the vehicle such as trim, accessories, drive train, brake lines, suspension, exhaust, windows, and electrical parts are removed from the frame and body shell.
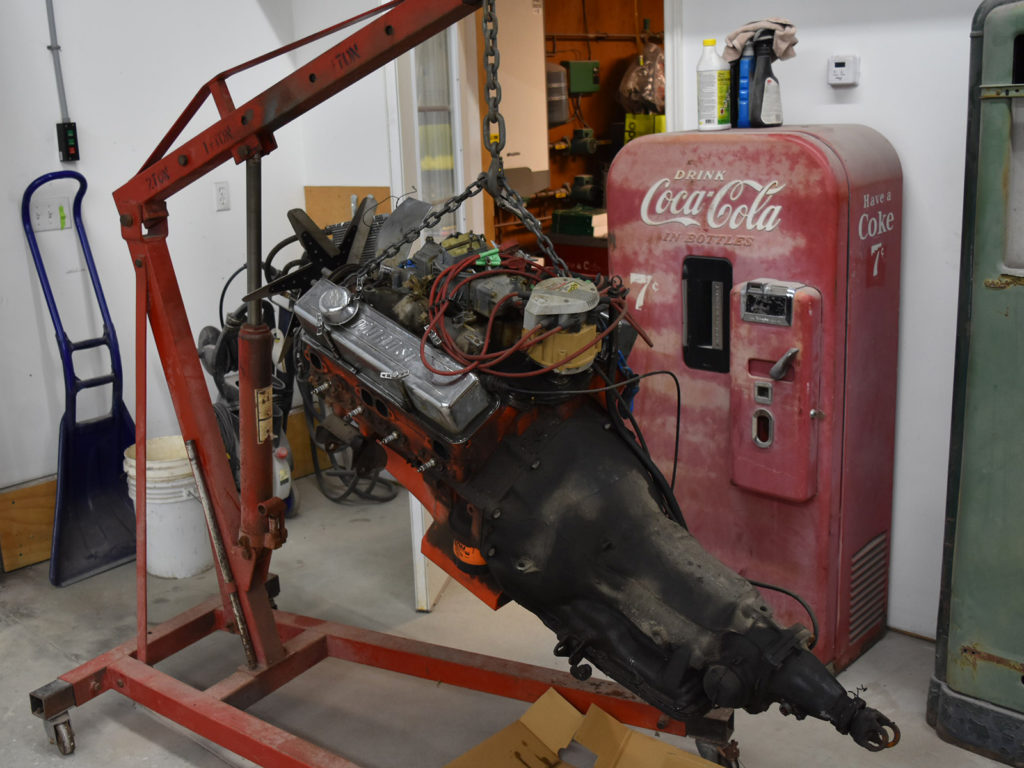
- After disassembly parts such as the main body shell or truck box are hoisted up onto a rotisserie to make them easy to restore.
- During this time many clients choose to get their drive train rebuilt by a third party.
- Most clients also choose to get their interiors restored by a third party during this time.

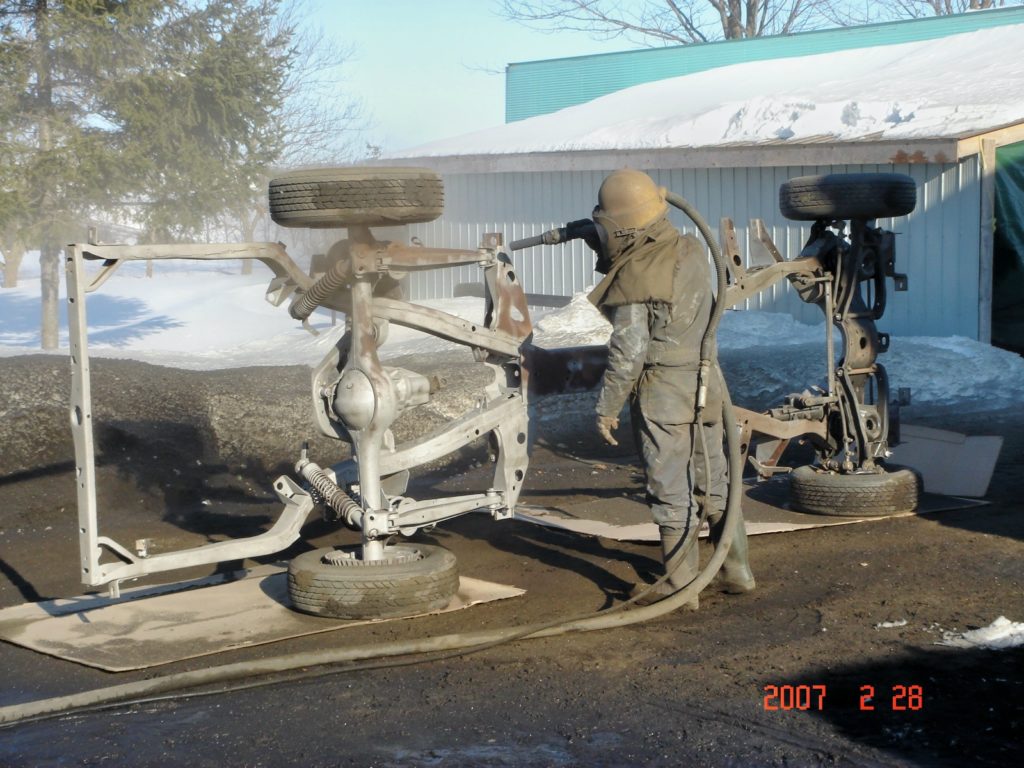
Stripping Parts to Bare Metal
Once all of the separate parts are removed from the body shell and frame, work can commence on the restoration.
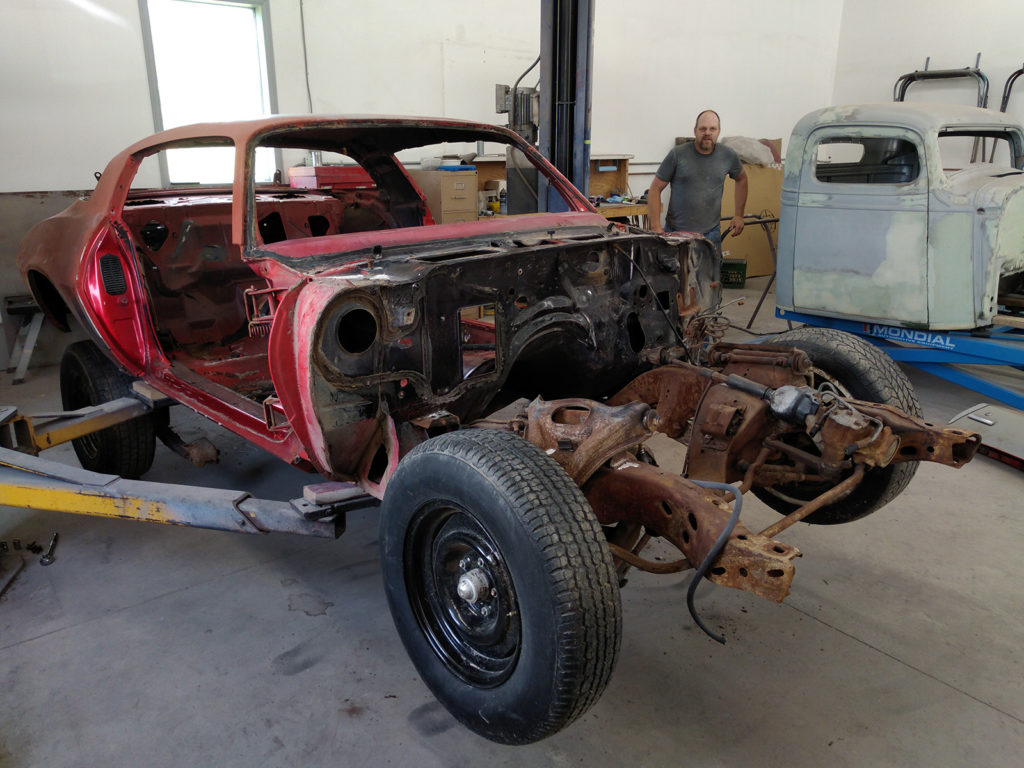
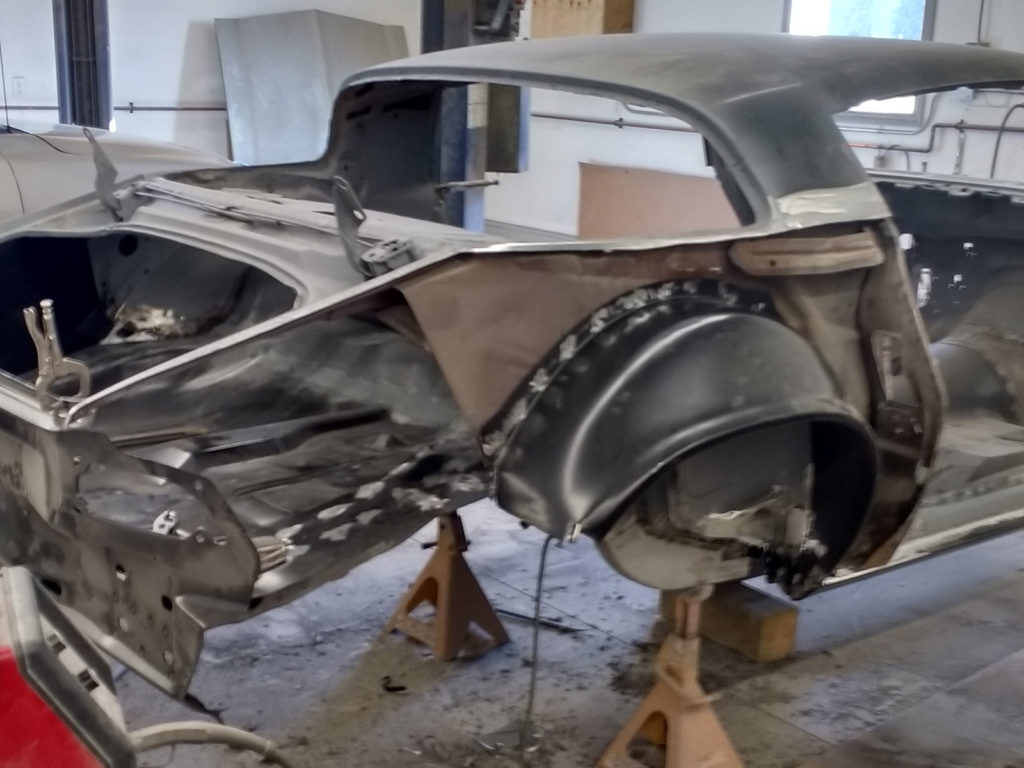
- Areas of the body and frame that are beyond repair because of decay or damage will now be cut out or removed from the repairable areas.
- Repairable areas of the shell and frame will now be stripped down to the bare metal by sandblasting or grinding.


Repairing the Decay
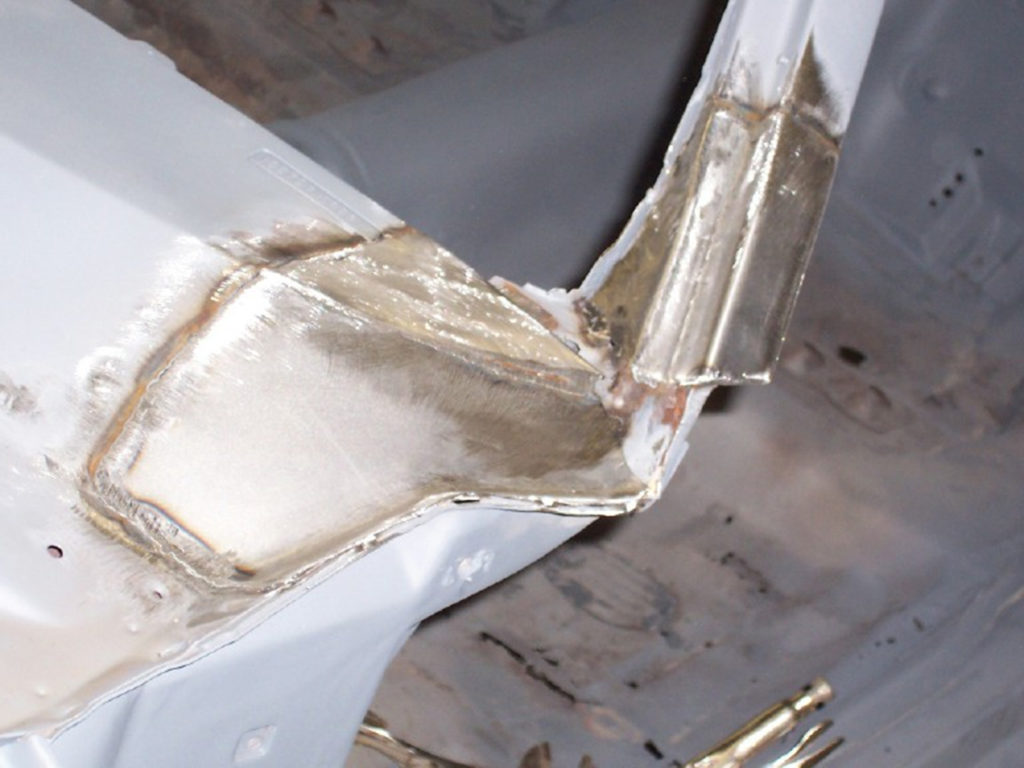
Once the metal is bare new parts such as floor shells, trunk shells, front and rear quarter panels can be installed.
- Depending on your vehicle new parts such as floors and quarter panels can be purchased or removed from donor vehicles.
- In some cases your floors or other parts of your vehicle may only need minor repairs with in shop fabricated sheet metal.
- These various new parts are now welded or bolted to the main body shell or frame.

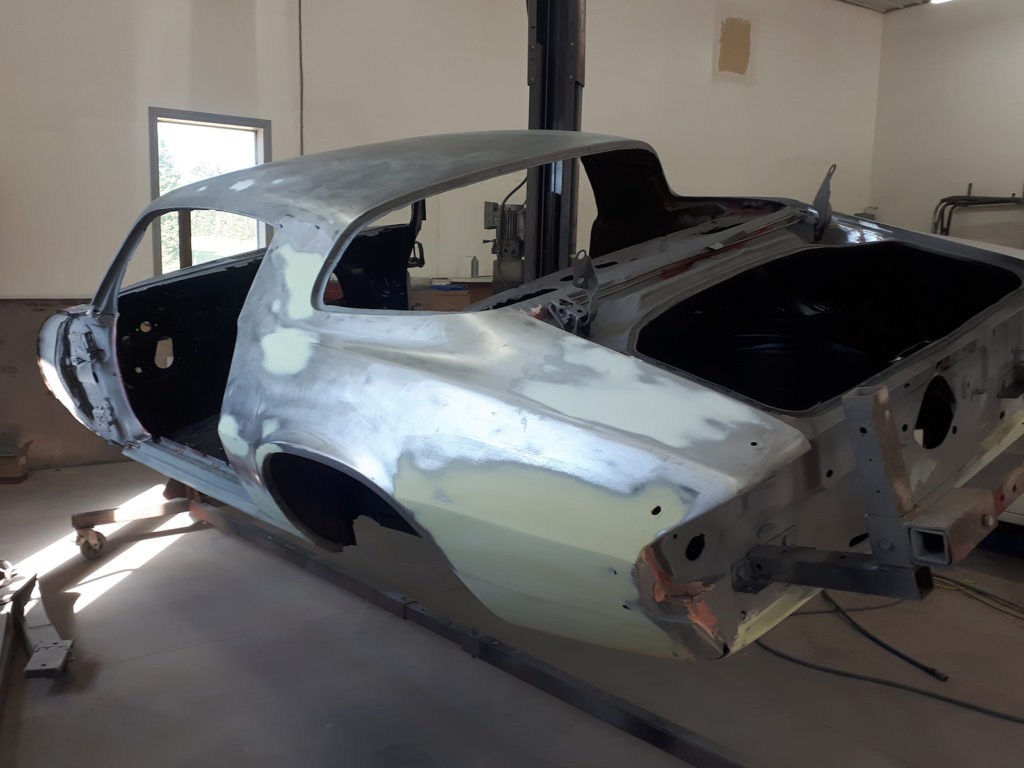
Perfecting the Flaws
Once the metal work is complete the bumps and bruises need to be smoothed out.
- Over the years most vehicles get banged up during daily use and these imperfections will show up when paint is applied.
- These imperfections and weld marks are smoothed over with the application of body filler and putty.
- After the application of body filler it must be sanded to smooth it out.
- This process will be repeated many times until a factory like finish is achieved.

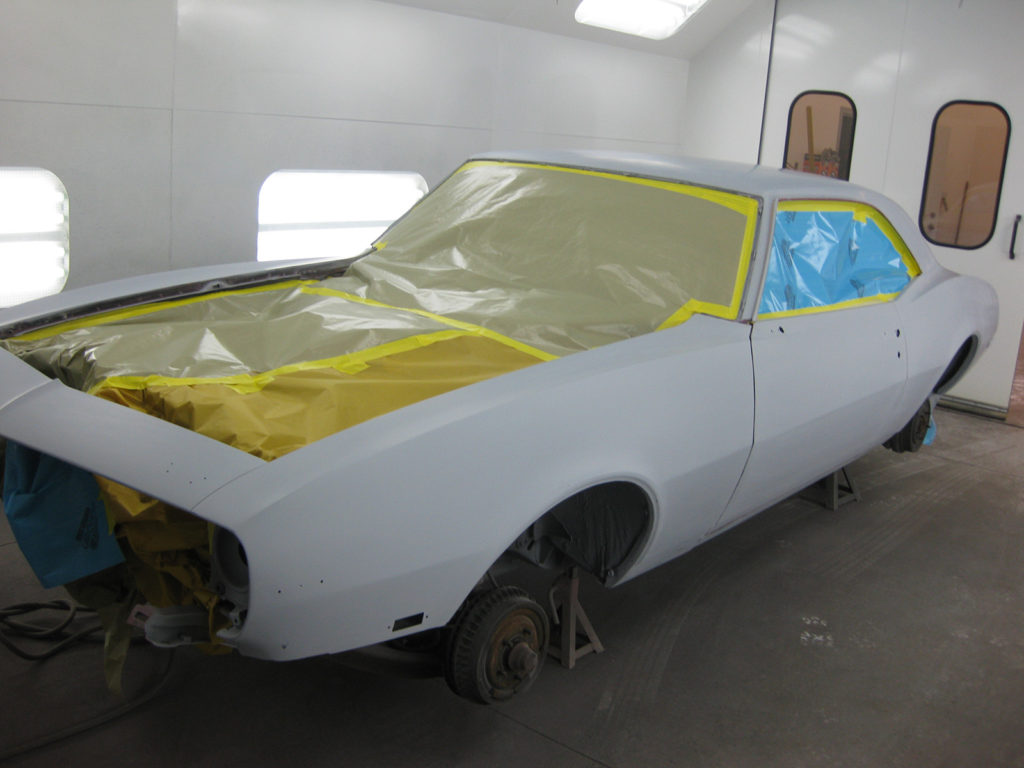
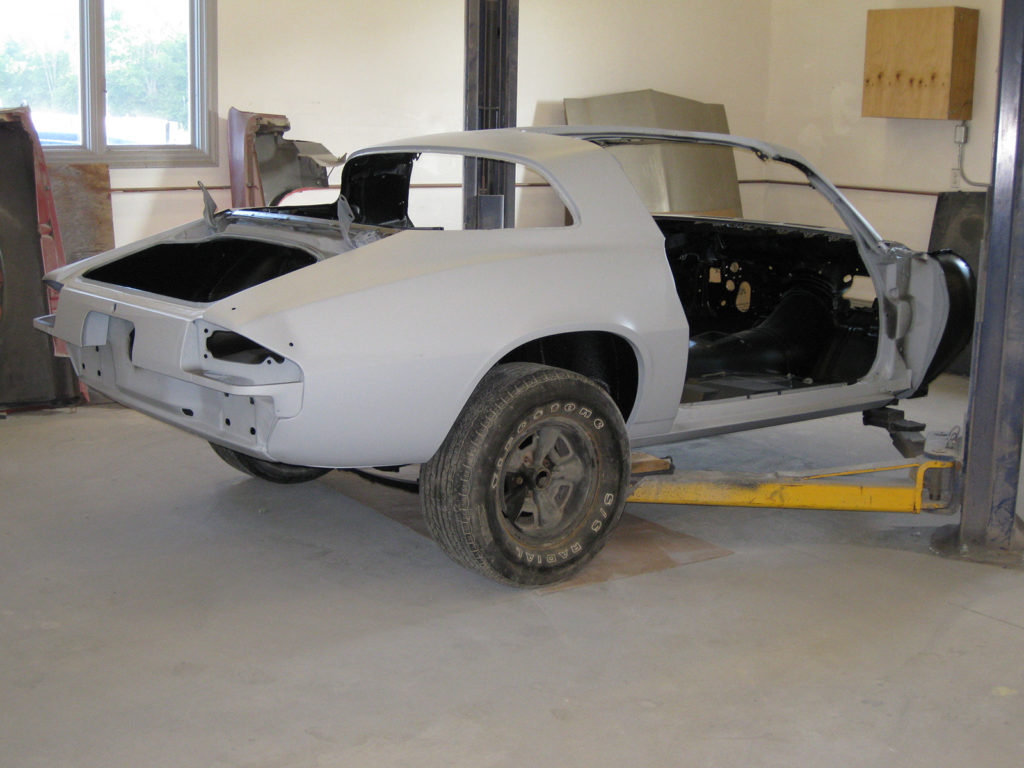
Application of Primer
Once the vehicle parts have been repaired they must be primed for the application of Paint.
- For the primer to properly adhere to areas of bare metal the metal must first be sanded with 120 grit sandpaper.
- Once the vehicle and it’s parts are ready they will be taken into the paint booth where the primer will be sprayed onto them.
- When the primer is dry it will be sanded down to prepare it for final paint or another coat of primer.

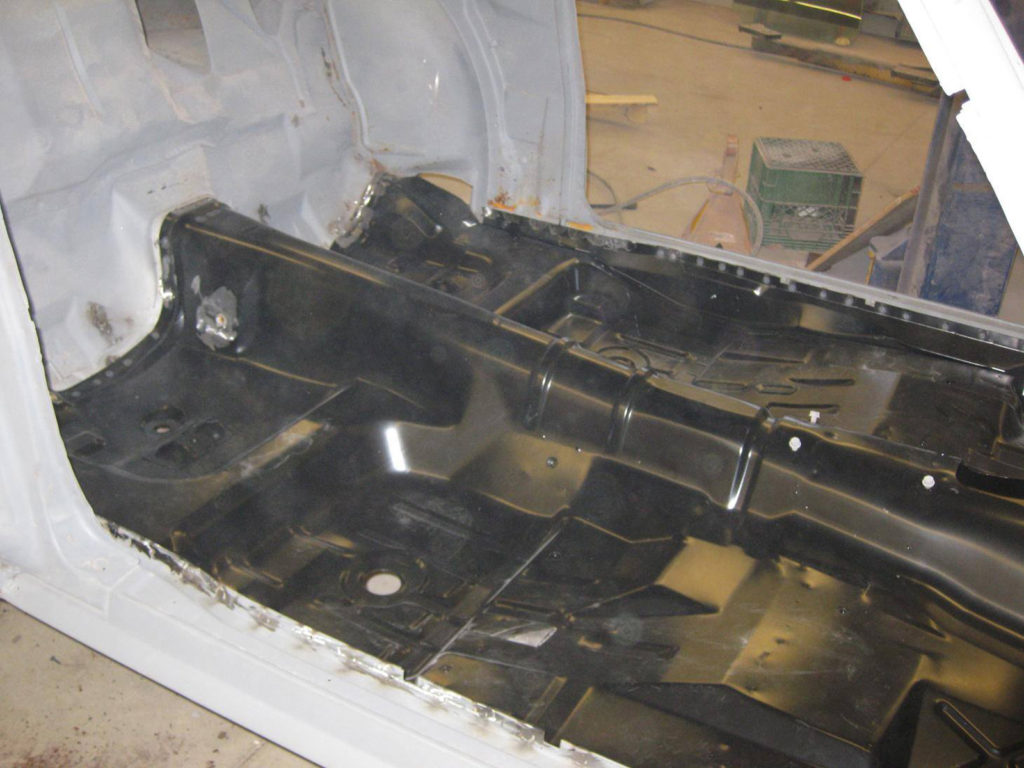
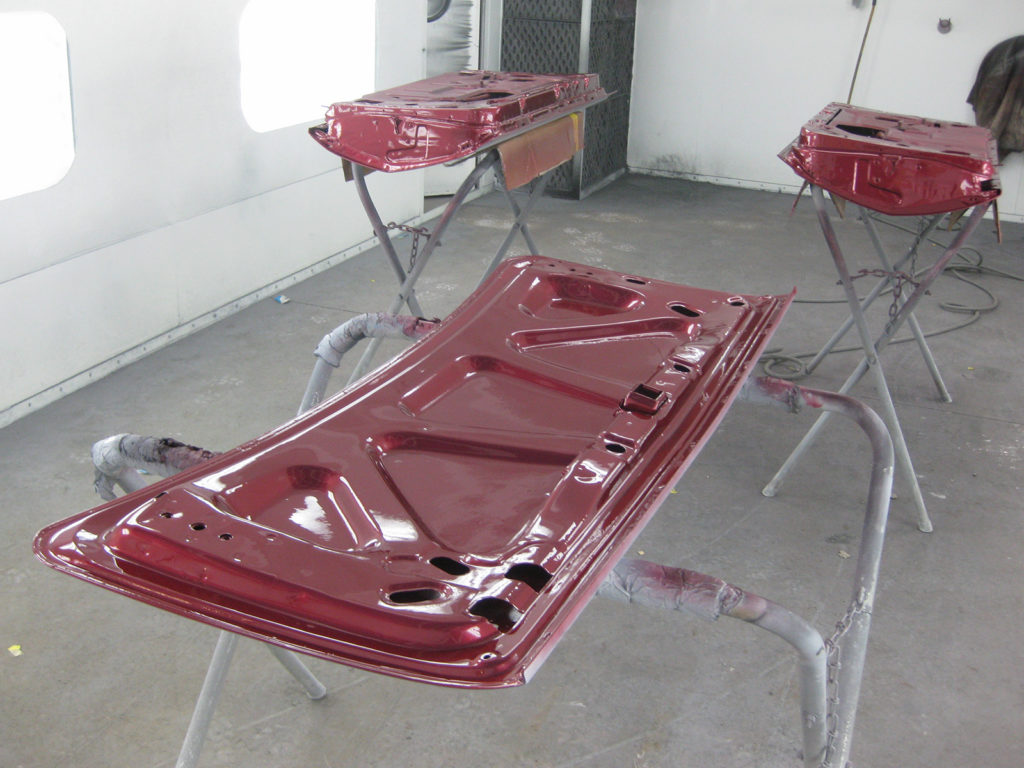
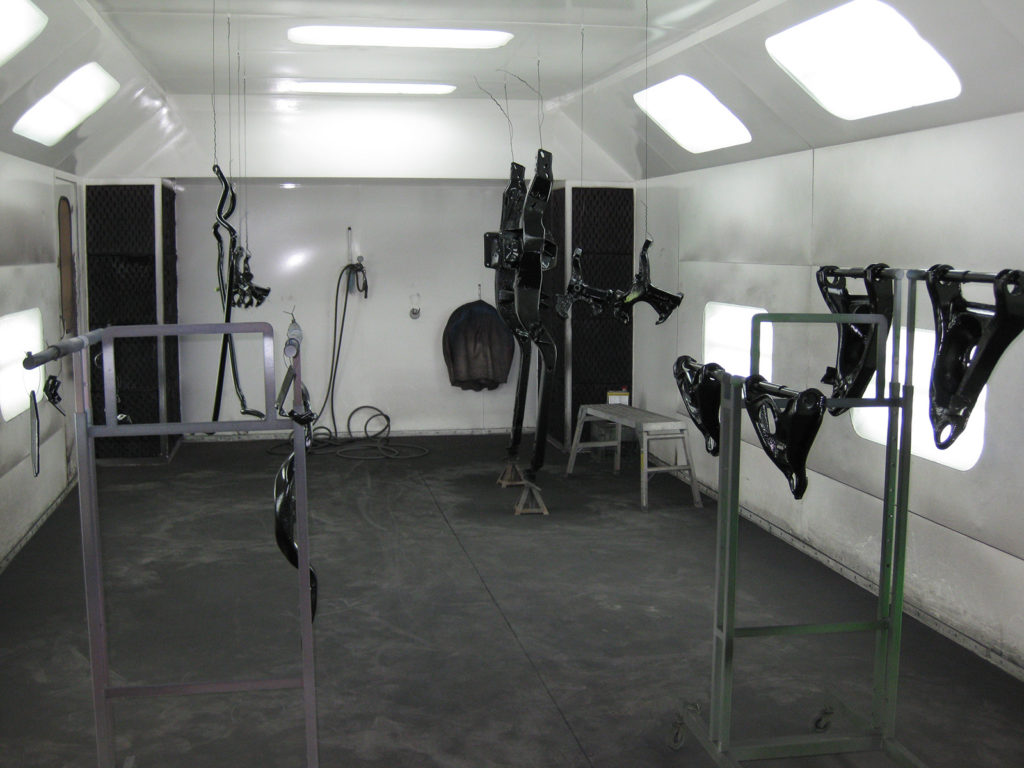
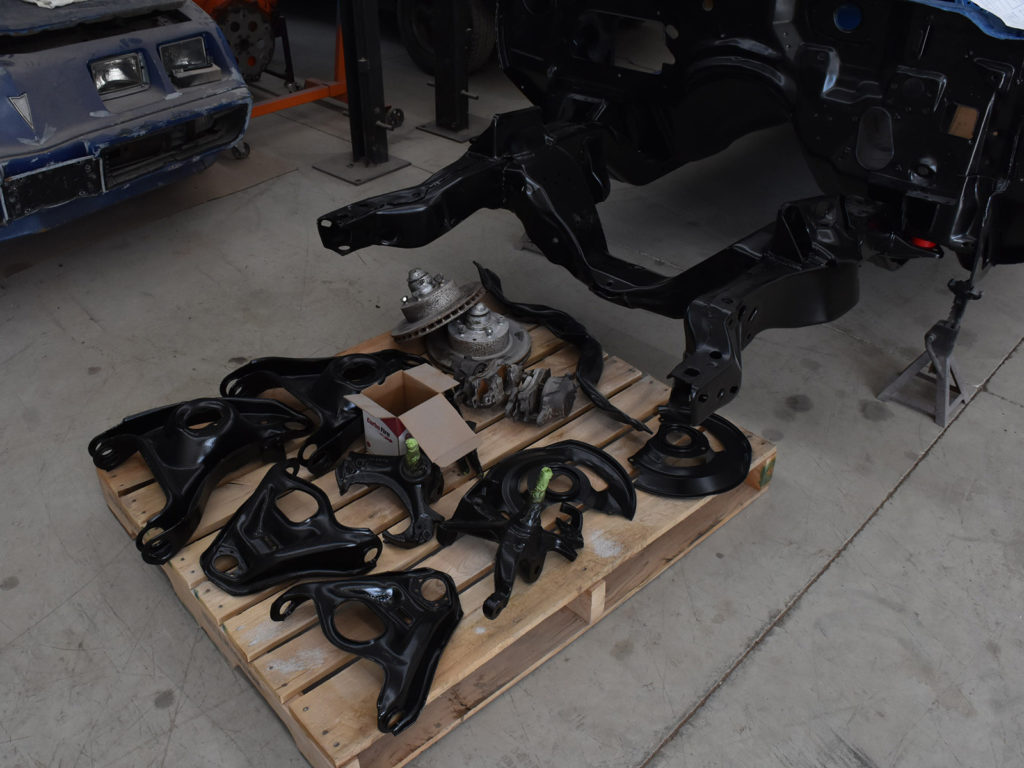
Final Paint of Interior, frame, Etc…
Once the various vehicle parts have been primed it’s time to paint areas such as the interior, trunk, engine compartment and frame.
- While the vehicle interior is being painted the exterior and areas like the engine compartment will be masked off to prevent over spray.
- Parts such as suspension parts, frame, doors, trunk lid and hood will be painted now while the vehicle is disassembled.
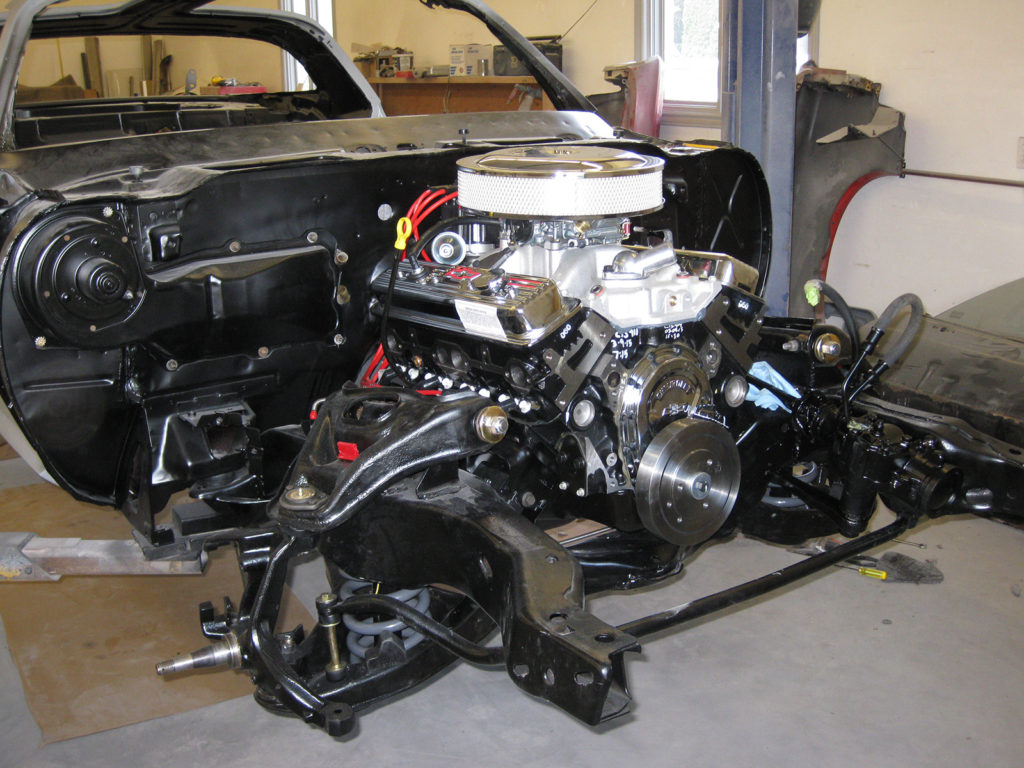
Some Re-Assembly
Once the interior and other various parts have had their final coat of paint the vehicle will be re-assembled to a certain point for final paint.
- At this stage the body shell will once again married to the frame.
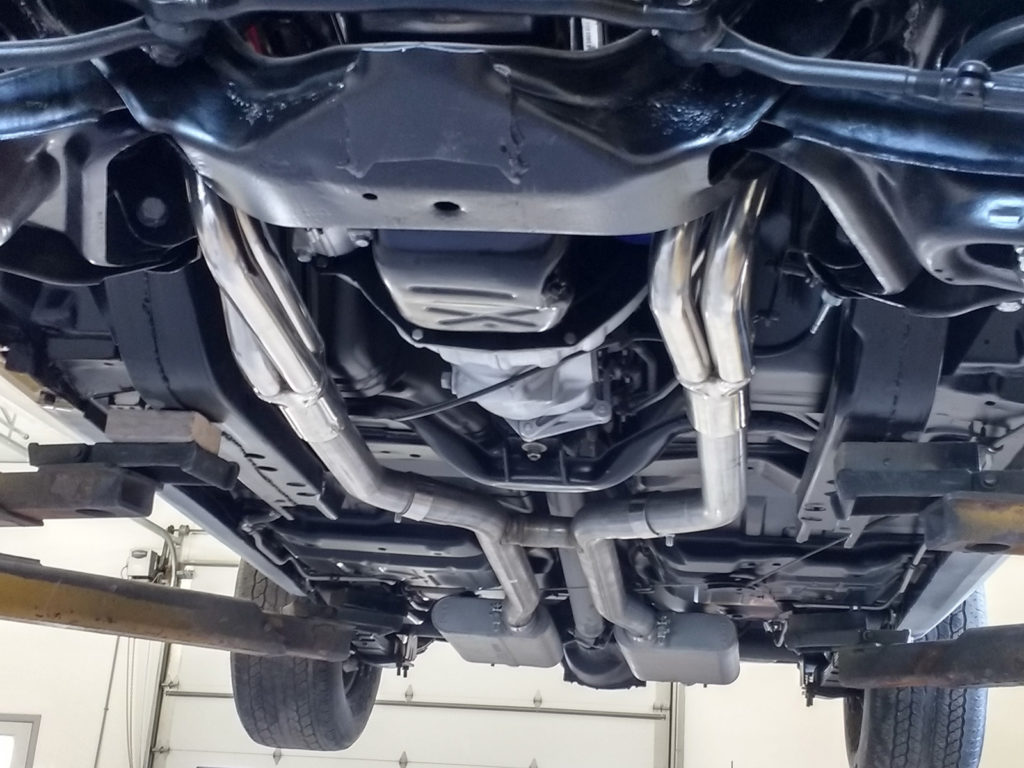
- Brake lines, exhaust and electrical can now be re-installed
- With the frame installed the drive train and suspension can be re-installed.
- Once the mechanical parts are in place things like the doors, glass parts, hood, front quarter panels and the trunk can be re-installed.


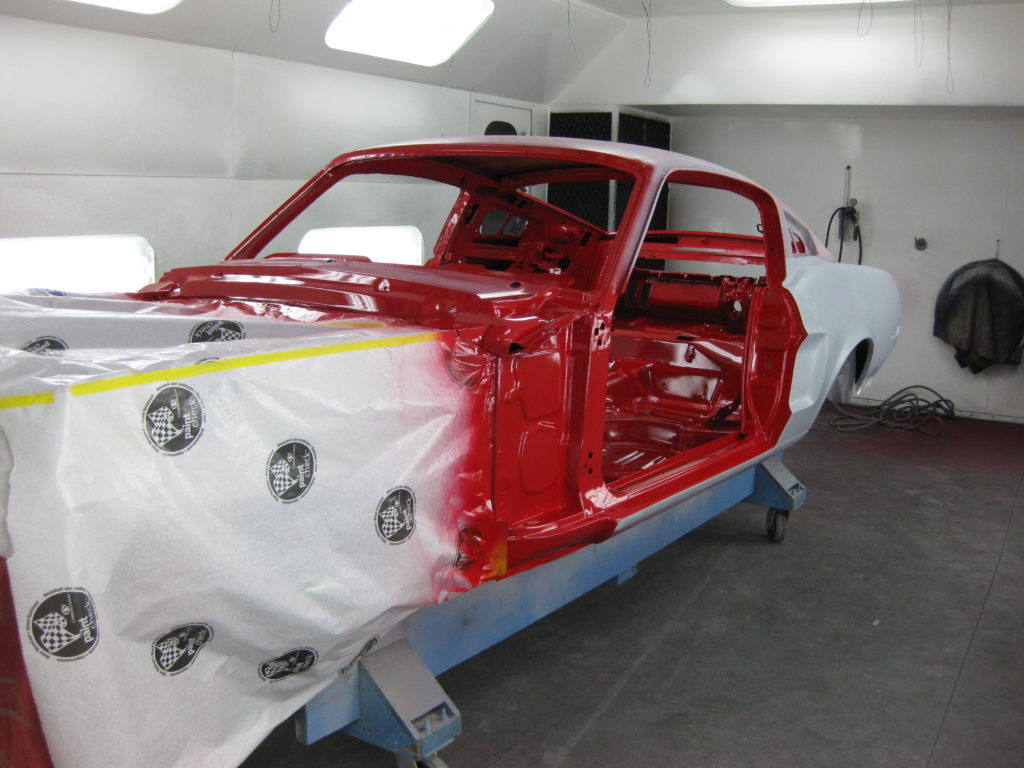
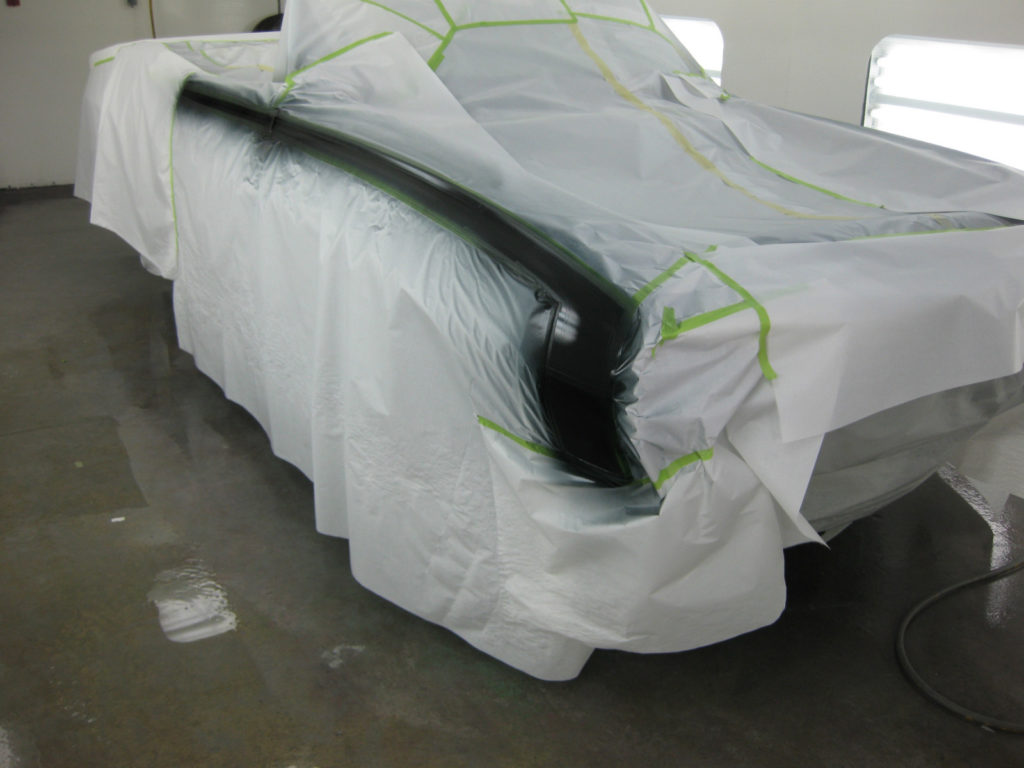
Final Paint of Exterior
It’s finally time for the beauty pass.
- Areas of the vehicle such as the windshield, engine compartment and the undercarriage will be masked off to protect them from over spray.
- After the vehicle has been wiped down with tack cloth the first coat of paint will be applied.
- Once the final coat of paint has been applied the vehicle will be given it’s first coat of clear.
- After the final coat of clear coat has been applied the vehicle will rest until the paint is dry.


Final Assembly
Once the vehicles paint is dry and the masking is removed all is clear for the final assembly.
- Now parts such as lights, front grill, and trim, etc… can be re-installed.
- Interior parts can also now be re-installed and finalized.

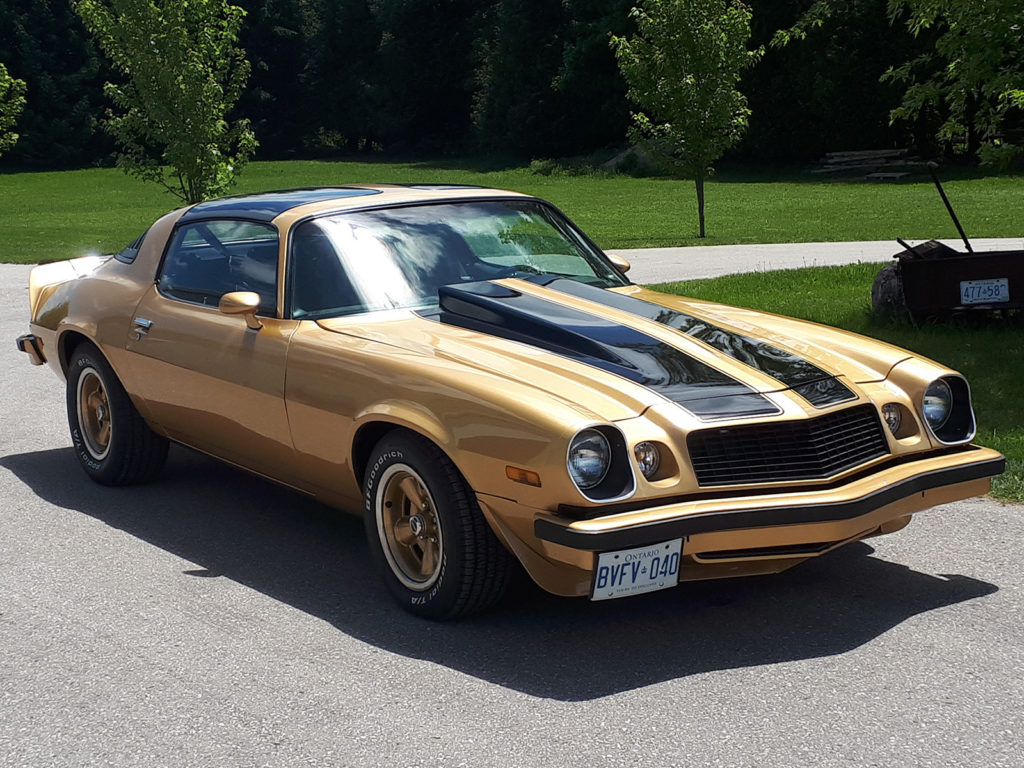
You now have a vehicle that is restored to the level it was when it first rolled off of the factory floor.